


Before installing a Mercedes OEM windshield, inspect and repair the vehicle's frame, carefully remove the old windshield, clean the area, replace existing seals if needed, then meticulously prepare and apply sealant along the perimeter, reinstall the windshield, ensuring a snug fit with specified hardware until adhesive sets. This process restores aesthetics, guarantees optimal visibility and safety.
Upgrading your Mercedes with a new OEM windshield? This step-by-step guide walks you through the entire installation process, ensuring a seamless fit and superior quality. From preparing your vehicle for the swap to final adjustments, we break down each crucial step. Learn how to safely remove the old windshield and securely install the new Mercedes OEM windshield, enhancing both safety and aesthetics. Get ready to transform your ride!
- Prepare the Vehicle for Installation
- Remove and Replace the Old Windshield
- Finalize and Secure the New Mercedes OEM Windshield
Prepare the Vehicle for Installation

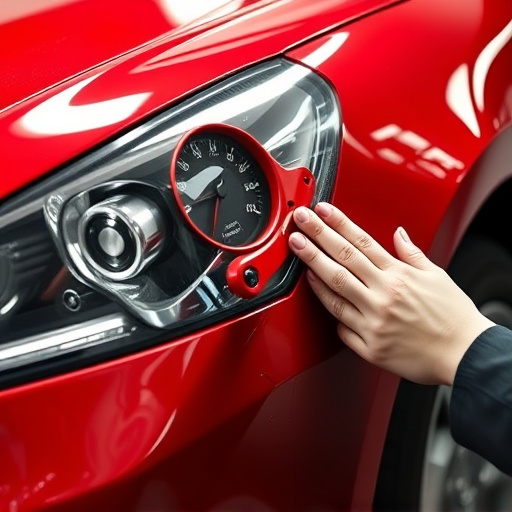
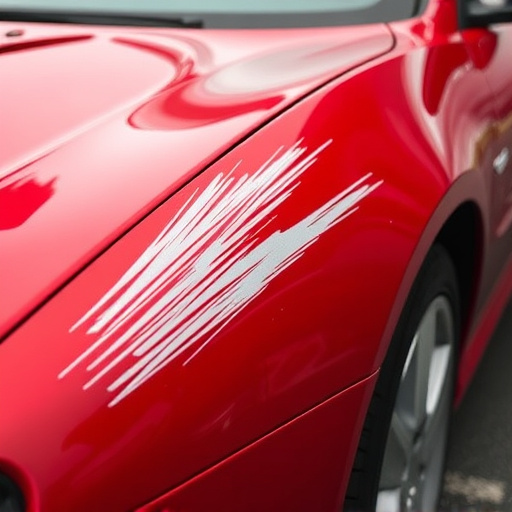
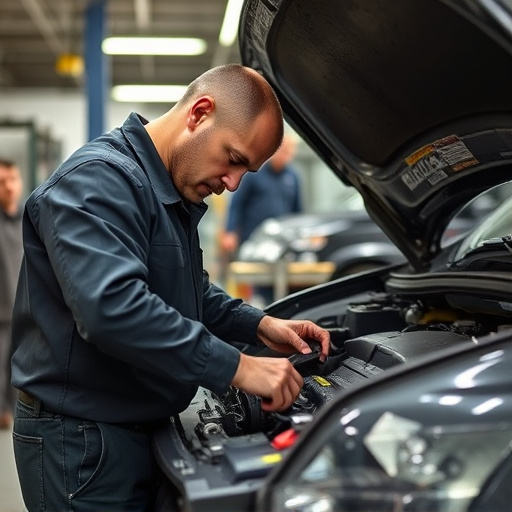
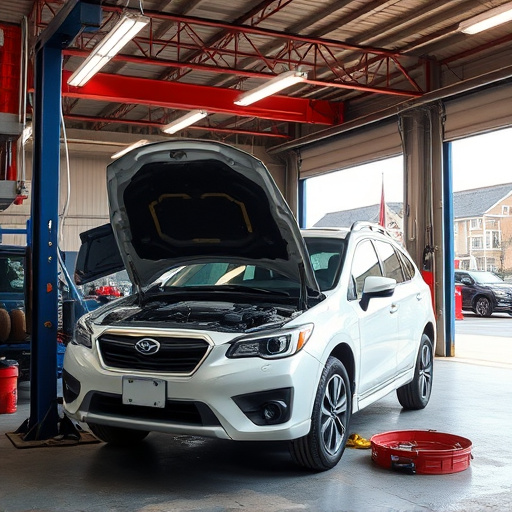
Before beginning the installation process, it’s crucial to prepare your Mercedes for the new OEM windshield. Start by thoroughly inspecting the vehicle’s frame and body around the area where the windshield sits. Ensure that all parts are in pristine condition, with no outstanding dents or scratches, as these could compromise the fit and safety of the glass. Any necessary repairs, such as dent removal or vehicle paint repair, should be completed prior to installation.
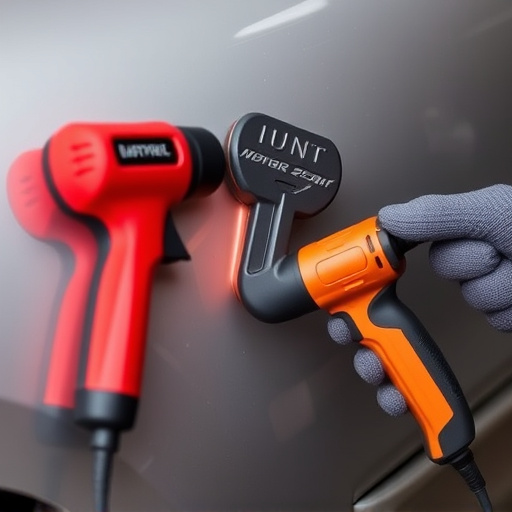
Next, gather all required tools and equipment, including specialized hardware designed for Mercedes OEM windshields. Remove the old windshield carefully, taking note of how it was secured, using appropriate techniques and safety precautions. Clean the area thoroughly to eliminate any debris that could interfere with a secure fit. This meticulous preparation sets the stage for a seamless installation process, ensuring your new Mercedes OEM windshield is safely and correctly fitted.
Remove and Replace the Old Windshield
When it comes to replacing a Mercedes OEM windshield, the first step is to safely and carefully remove the old one. This process typically involves releasing the existing windshield from its seals and brackets, which requires the right tools and a systematic approach to avoid damaging the surrounding car parts or surfaces. Once the old windshield is detached, it’s time to prepare the surface for the new installation.
A thorough inspection of the car’s frame and body panels is essential to ensure they are clean and free from any debris or imperfections. This step is crucial in achieving a seamless fit for the new Mercedes OEM windshield. In many cases, especially after a collision repair or car paint repair, the existing seals might need replacement to guarantee an effective seal and prevent water intrusion, ensuring optimal visibility and safety during driving.
Finalize and Secure the New Mercedes OEM Windshield

After ensuring a precise fit and conducting thorough quality checks, it’s time to finalize and secure the new Mercedes OEM windshield. Begin by removing any protective films or masking from the windshield area. Next, apply a bead of high-quality sealant along the perimeter, following the manufacturer’s guidelines for the correct type and application method. This step ensures a tight seal between the windshield and the vehicle’s body, enhancing structural integrity and protection against elements.
Once the sealant is applied, carefully align and position the windshield back into its original slot, ensuring it fits snugly. Secure it in place using specified hardware or clamps until the adhesive sets. Proper installation of the Mercedes OEM windshield not only enhances the car’s overall aesthetics but also plays a vital role in maintaining optimal driver visibility and safety, underscoring the importance of professional auto glass replacement services when needed.
Installing a new Mercedes OEM windshield is a meticulous process that requires precision and attention to detail. By carefully preparing the vehicle, removing the old windshield, and securely finalizing the new one, you ensure a perfect fit and superior protection for your Mercedes. This step-by-step guide provides an efficient framework for achieving professional results, ensuring your car’s front line of defense against the elements is both functional and aesthetically pleasing.